Setup & teardown scripts
Setup and teardown scripts can be used to execute arbitrary JavaScript/TypeScript code before and/or after an API check.
Both script types have access to all environment variables, runtime objects like request and response and popular npm packages
like moment, axios and lodash.
To get the most power out of API checks with setup and teardown scripts, we advise using the Checkly CLI. However, you can also use them via our web UI
Check the video below for a quick overview of using setup and teardown scripts through the web UI and with the CLI.
Setup scripts
Setup scripts allow you to process test data and configure API check requests. A setup script executes before any requests are made. You have access to a set of built-in variables to tweak the HTTP request (URL, headers etc.) and a set of 3rd party libraries available in each runtime. Popular use cases are signing HMAC requests, requesting tokens and setting up test data.
Some simple examples are below:
// request.headers is a standard Javascript object

// Set a custom header
request.headers['X-Custom-Header'] = 'my value'

// Append a value to the request url
request.url = request.url + '/extra'

// Define a cookie
request.headers['Cookie'] = tokenString
Authentication using setup scripts
A very common task for setup scripts is to fetch or sign some session token and use that token in the main API check. You probably want to centralize that logic and use it across all you API checks. You can solve that problem elegantly with the following structure.
- Create an API check an reference the setup script (
setup.ts) using theentrypointproperty. - Encapsulate the actual authentication logic (fetching, signing etc.) in a separate
auth-client.tsfile. - In the
setup.tsfile, importcommon/auth-client.tsand update the necessary fields in therequestobject.
Your folder structure would look as follows:
.
|-- api-1.check.ts
|-- setup.ts
`-- common
    `-- auth-client.ts
The API check performs a GET on an authenticated API endpoint, in this case https://api.acme.com/v1.products.
// api.check.ts
import { ApiCheck } from '@checkly/cli/constructs'
import * as path from 'path'

new ApiCheck('api-check-1', {
    name: 'Fetch Product Data',
    setupScript: {
        entrypoint: path.join(__dirname, 'setup.ts'),
    },
    request: {
        method: 'GET',
        url: 'https://api.acme.com/v1/products'
    }
})
The setup script uses the auth client and sets the Authentication header with a Bearer token. Notice two things:
- The
requestobject is a global variable, injected at runtime. See the request reference below for more details - You need to use a top-level
awaitstatement as thegetToken()function returns aPromise.
// setup.ts
import { getToken } from './common/auth-client'
const token = await getToken()
request.headers['Authentication'] = `Bearer ${token}`
The actual auth client doesn’t do anything Checkly specific, besides reading a static environment variable AUTH_SERVER_TOKEN
that authenticates the request to the server issuing session tokens. You should store that static token in your global
environment variables.
// common/auth-client.ts
import axios from 'axios'

export async function getToken () {
    console.log('Fetching session token from auth server')
    const { data } = await axios.get('https://api.checklyhq.com/v1/runtimes', {
        headers: {
            authentication: process.env.AUTH_SERVER_TOKEN
        }
    })
    return data.token
}
The benefits from this structure are:
- You can reuse the authentication logic across as many API checks as you want.
- You can test the core authentication logic separately from any Checkly specific code.
The above example uses a fictional authentication server for simplicity. Check out our setup script examples for actual examples of OAuth2, HMAC signing, JWT tokens and other auth methods.
Teardown scripts
Teardown scripts are run after the HTTP request has finished, but before any assertions are validated. Next to the request object, teardown scripts also have access to the response object. Use cases are cleaning up test data and scrubbing sensitive response data for regulatory reasons.
To learn more about teardown scripts, check our teardown script examples.
Built-in variables
Inside each script, you have access to certain data structures of the API check lifecycle.
- Environment variables for reading tokens and other secrets you have stored.
- The
requestobject. - The
responseobject, only in teardown scripts as there is no response till after the API check runs. - Built-in runtime variables injected automatically, like
process.env.CHECK_NAME
Environment
You have access to all environment variables configured in the variables section on the account page. You can create, read, update and delete any of the attributes in this object, but these mutations are only available during the lifetime of a single check run.
The current data center location the script is running in is exposed as the AWS region code in the REGION constant,
i.e. eu-west-1 or us-east-1
// read values and use them for further processing
const myValue = process.env.MY_KEY

// write values
process.env.MY_KEY = myValue + 10

// add a new key/value pair
process.env.NEW_KEY = 'new value'

// remove a key
delete process.env.SOME_OTHER_KEY
In setup scripts, the modified environment object is used for the subsequent HTTP request. In teardown script, the modified environment object is just there for informational purposes.
More about using environment variables
Request
Request properties are exposed as a standard JavaScript object. This object is available in both setup and teardown scripts.
| property | description | type |
|---|---|---|
request.method |
The HTTP request method, i.e. ‘GET’, ‘POST’ etc. | String |
request.url |
The request URL. Any separately defined query parameters are added at the end. | String |
request.body |
The request body in string format. | String |
request.headers |
The request headers. | Object |
request.queryParameters |
The request query parameters. | Object |
Response
Response properties are exposed a standard Javascript object. These are only available in teardown scripts.
| property | description | type |
|---|---|---|
response.statusCode |
The response status code, i.e. 200 or 404. | Number |
response.statusText |
The response status text, i.e. ‘Ok’ or ‘Not found’. | String |
response.body |
The response body in string format. You will need to use JSON.parse(response.body) to access JSON responses. |
String |
response.headers |
The response headers in the form of a standard Javascript object. | Object |
response.timings |
Various timestamps for the request stage relative to the starting time. | Object |
response.timingPhases |
Time durations for each request phase. | Object |
Built-in runtime variables
The setup and teardown runtime also exposes a set of specific environment variables to the setup and teardown scripts,
next to the “generic” runtime variables like process.env.CHECK_NAME you find in all check runtimes
Setup & teardown specific variables
| variable | description |
|---|---|
GROUP_BASE_URL |
The {{GROUP_BASE_URL}} value of the grouped API check. |
REQUEST_URL |
The request URL of the API check executed. |
Generic runtime variables
| variable | description | availability notes |
|---|---|---|
CHECK_ID |
The UUID of the check being executed. | only available after saving a check. |
CHECK_NAME |
The name of the check being executed. | |
CHECK_RESULT_ID |
The UUID where the result will be saved. | only available on scheduled runs. |
CHECK_RUN_ID |
The UUID of the check run execution. | only available on scheduled runs. |
CHECK_TYPE |
The type of the check, e.g. BROWSER. |
|
REGION |
The current region, e.g. us-west-1. |
|
RUNTIME_VERSION |
The version of the runtime, e.g, 2023.09. |
Included libraries
All setup and teardown scripts run in a sandboxed environment on our cloud backend. You do not have full access to the Node.js standard library or to arbitrary npm packages.
Check out our runtimes documentation for a full specification of which modules are included.
Technical limitations
- Setup and teardown scripts are implicitly wrapped in async function. This means you can always use
awaitstatements. - You cannot use nested callbacks as there is no way to determine the callback function. Always use
awaitstatements. - You need to include modules and libraries explicitly, e.g.
const moment = require('moment')before you can use them. - You can pass a maximum of 256KB of data to and from the check’s main request (e.g. using
request.body = data).
Using setup and teardown scripts via the UI
When using the Checkly web UI to create and run API checks, you can use setup and teardown script in the following two modes:
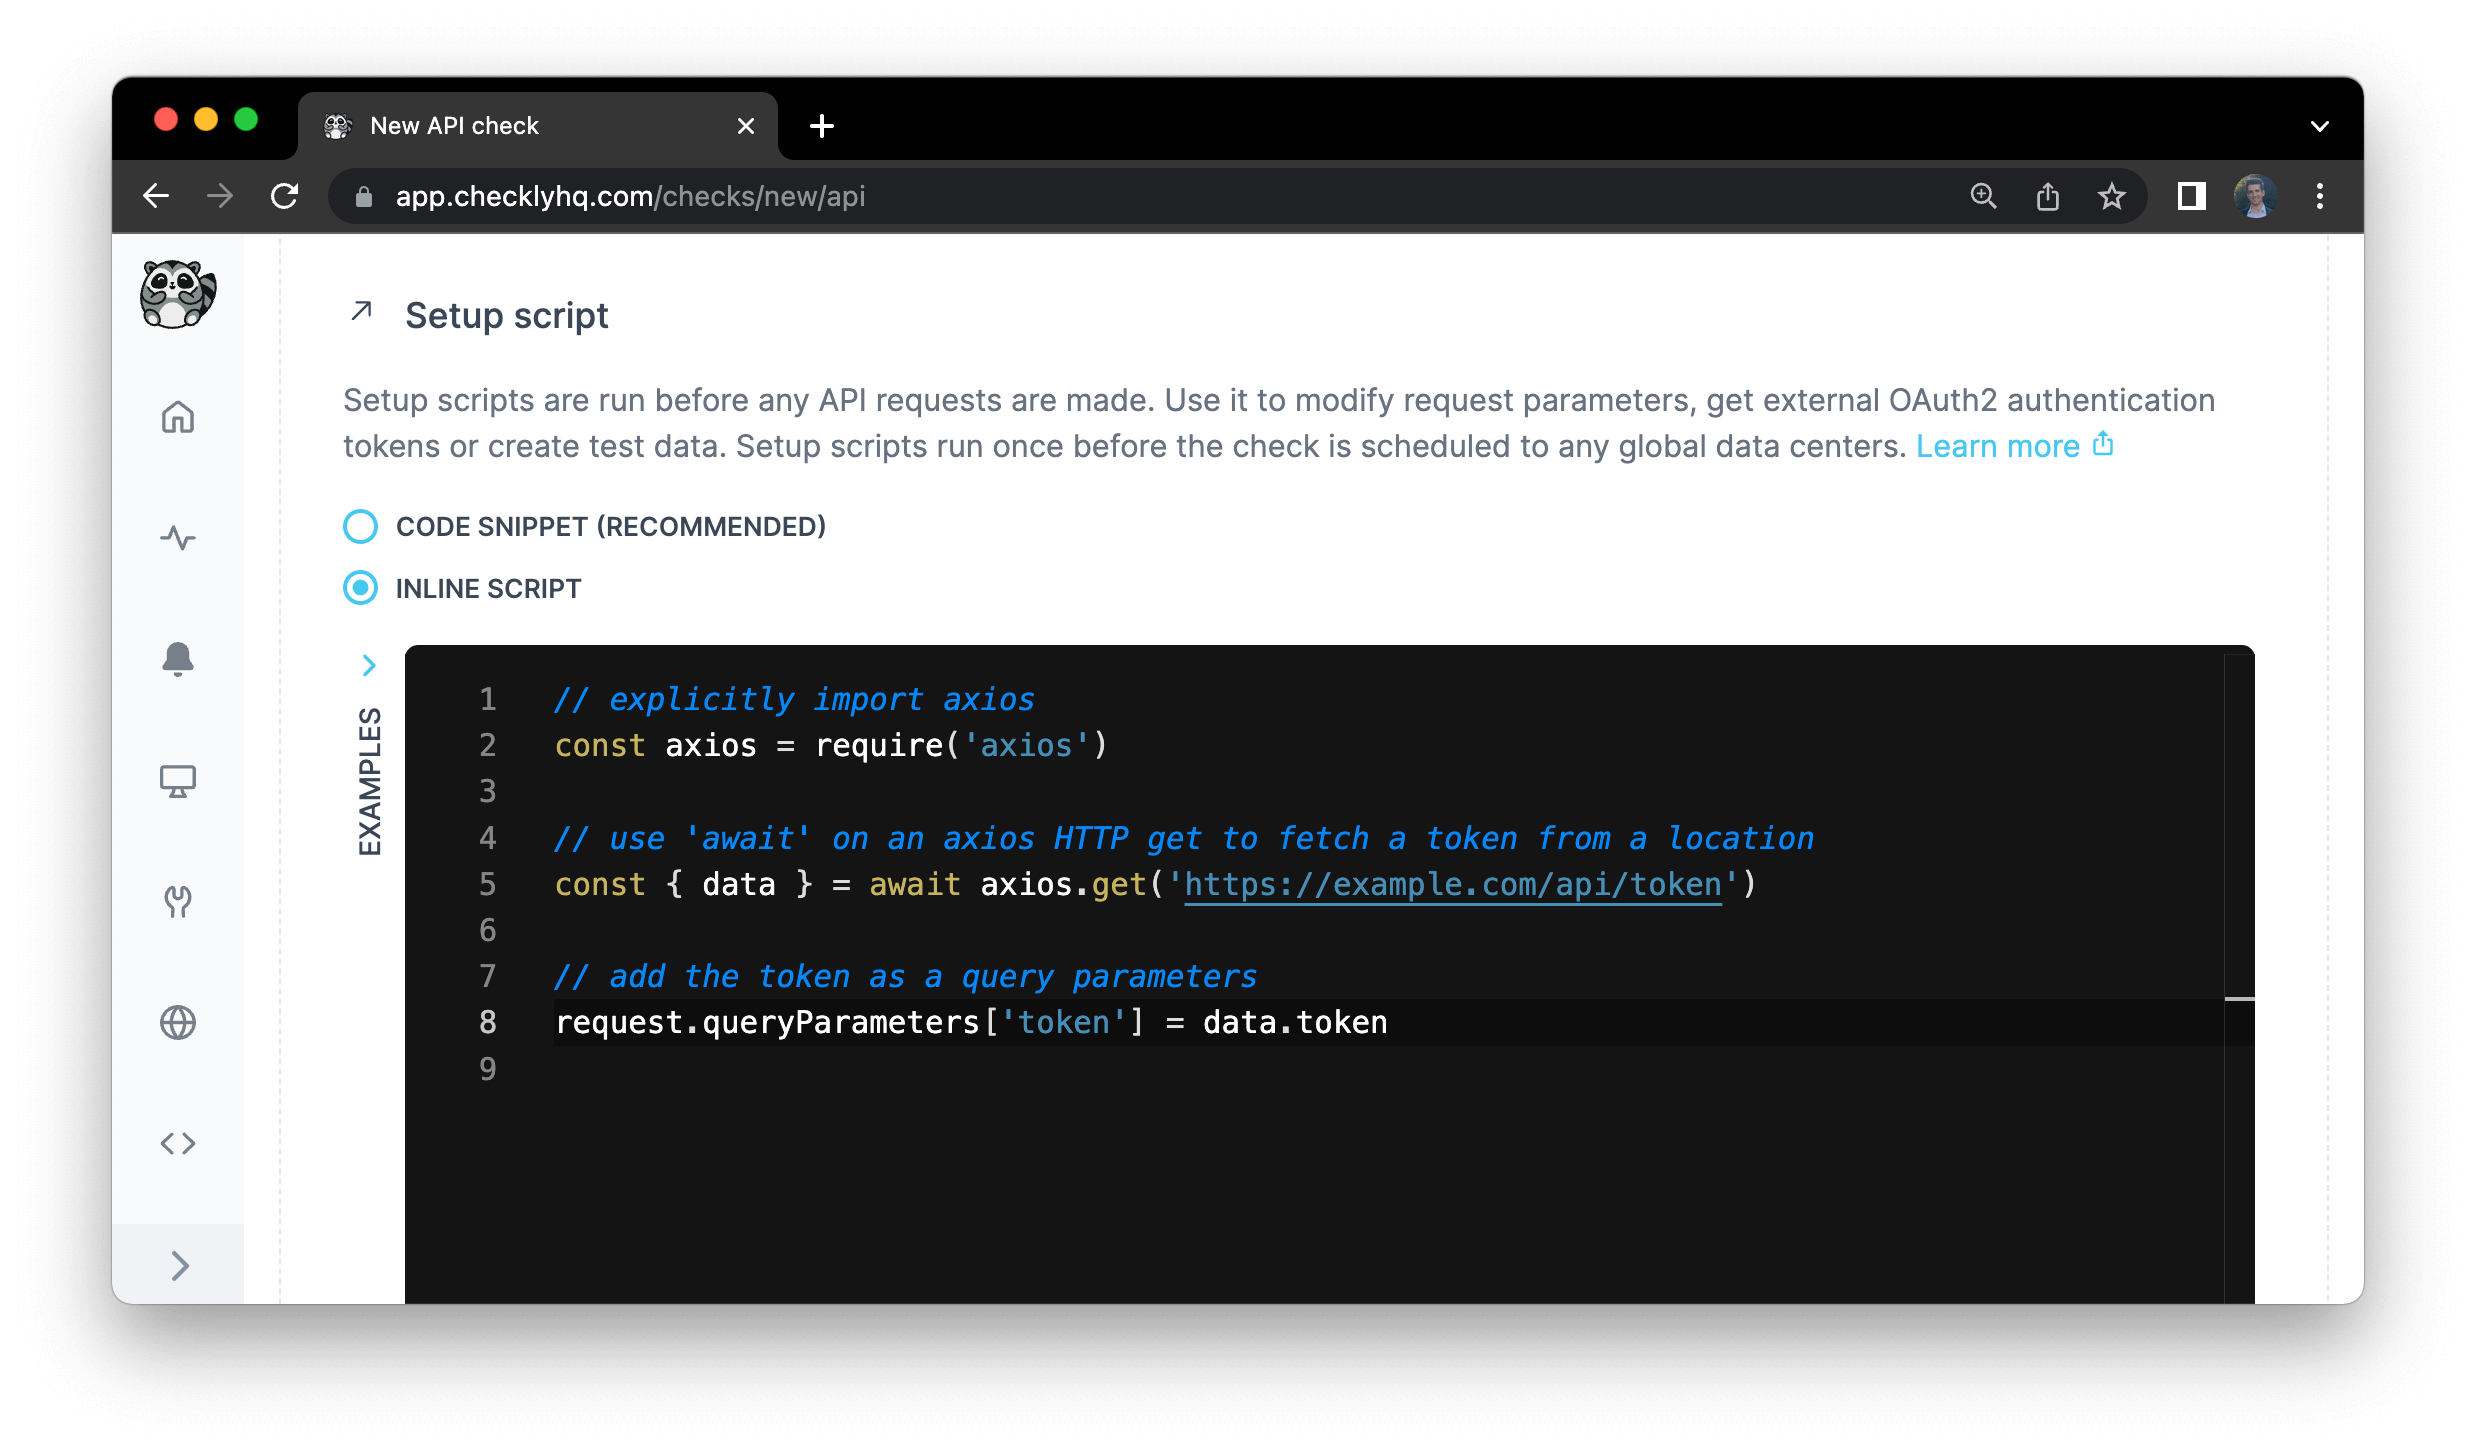
- Using a inline piece of JS/TS code as shown below. This is great for quick, adhoc pieces of code you only use once.

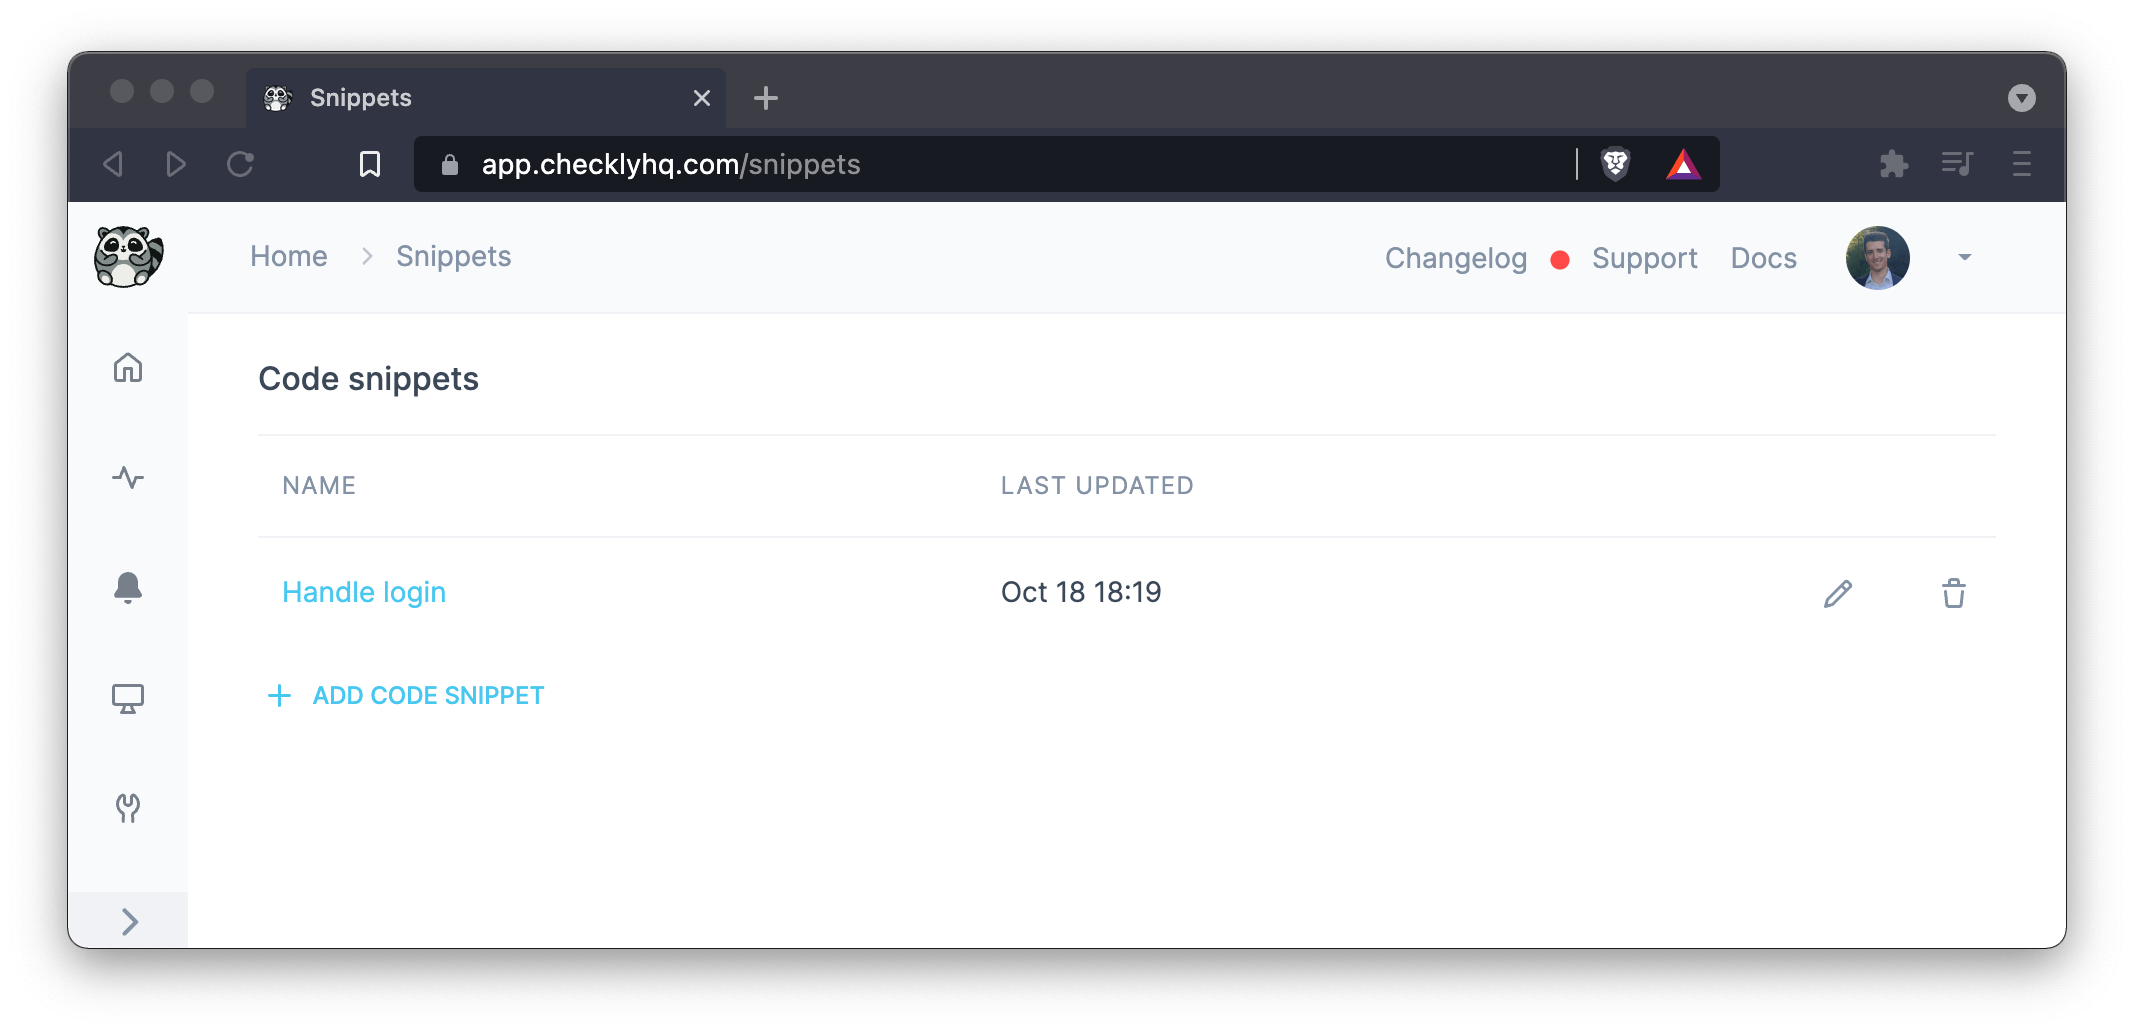
- Using snippets to DRY (Don’t Repeat Yourself) up your code, and referencing those snippets by name. This method approaches the way of working with the CLI, but is less flexible in general as you don’t have direct access to a full JS/TS environment.

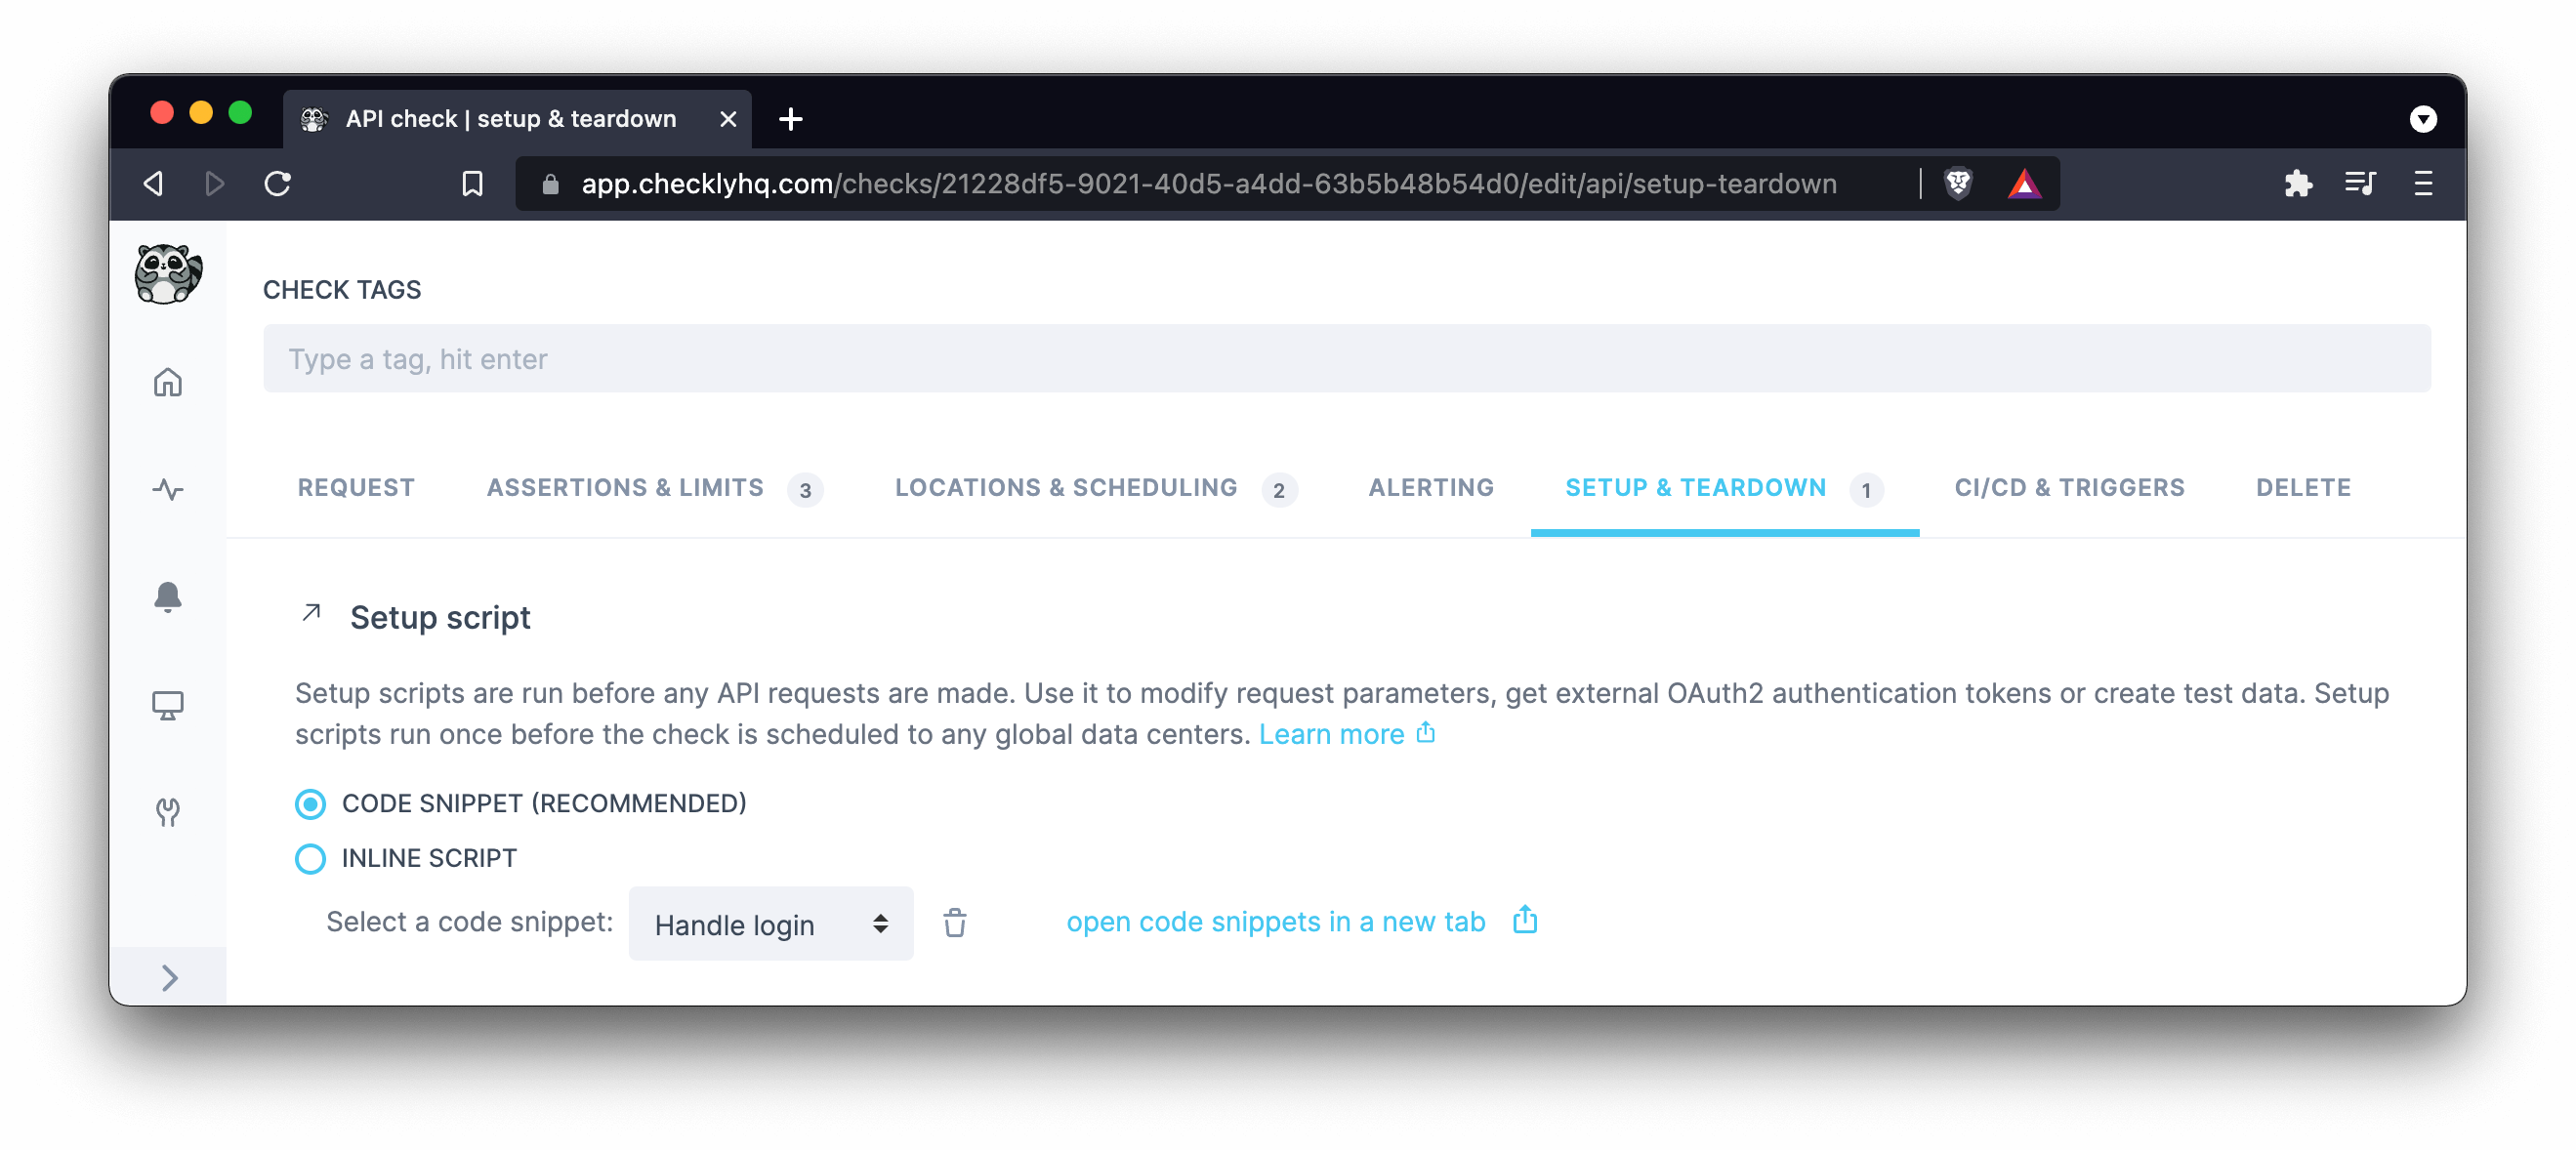
Once created, just select any snippets from the drop down menu in setup and teardown scripts section of your API check.

It’s also possible to import snippets from your setup or teardown scripts. This can be valuable if setup and teardown scripts are similar across checks, but still require some customization. Find more information in the snippet documentation.
Using environment variables via Handlebars
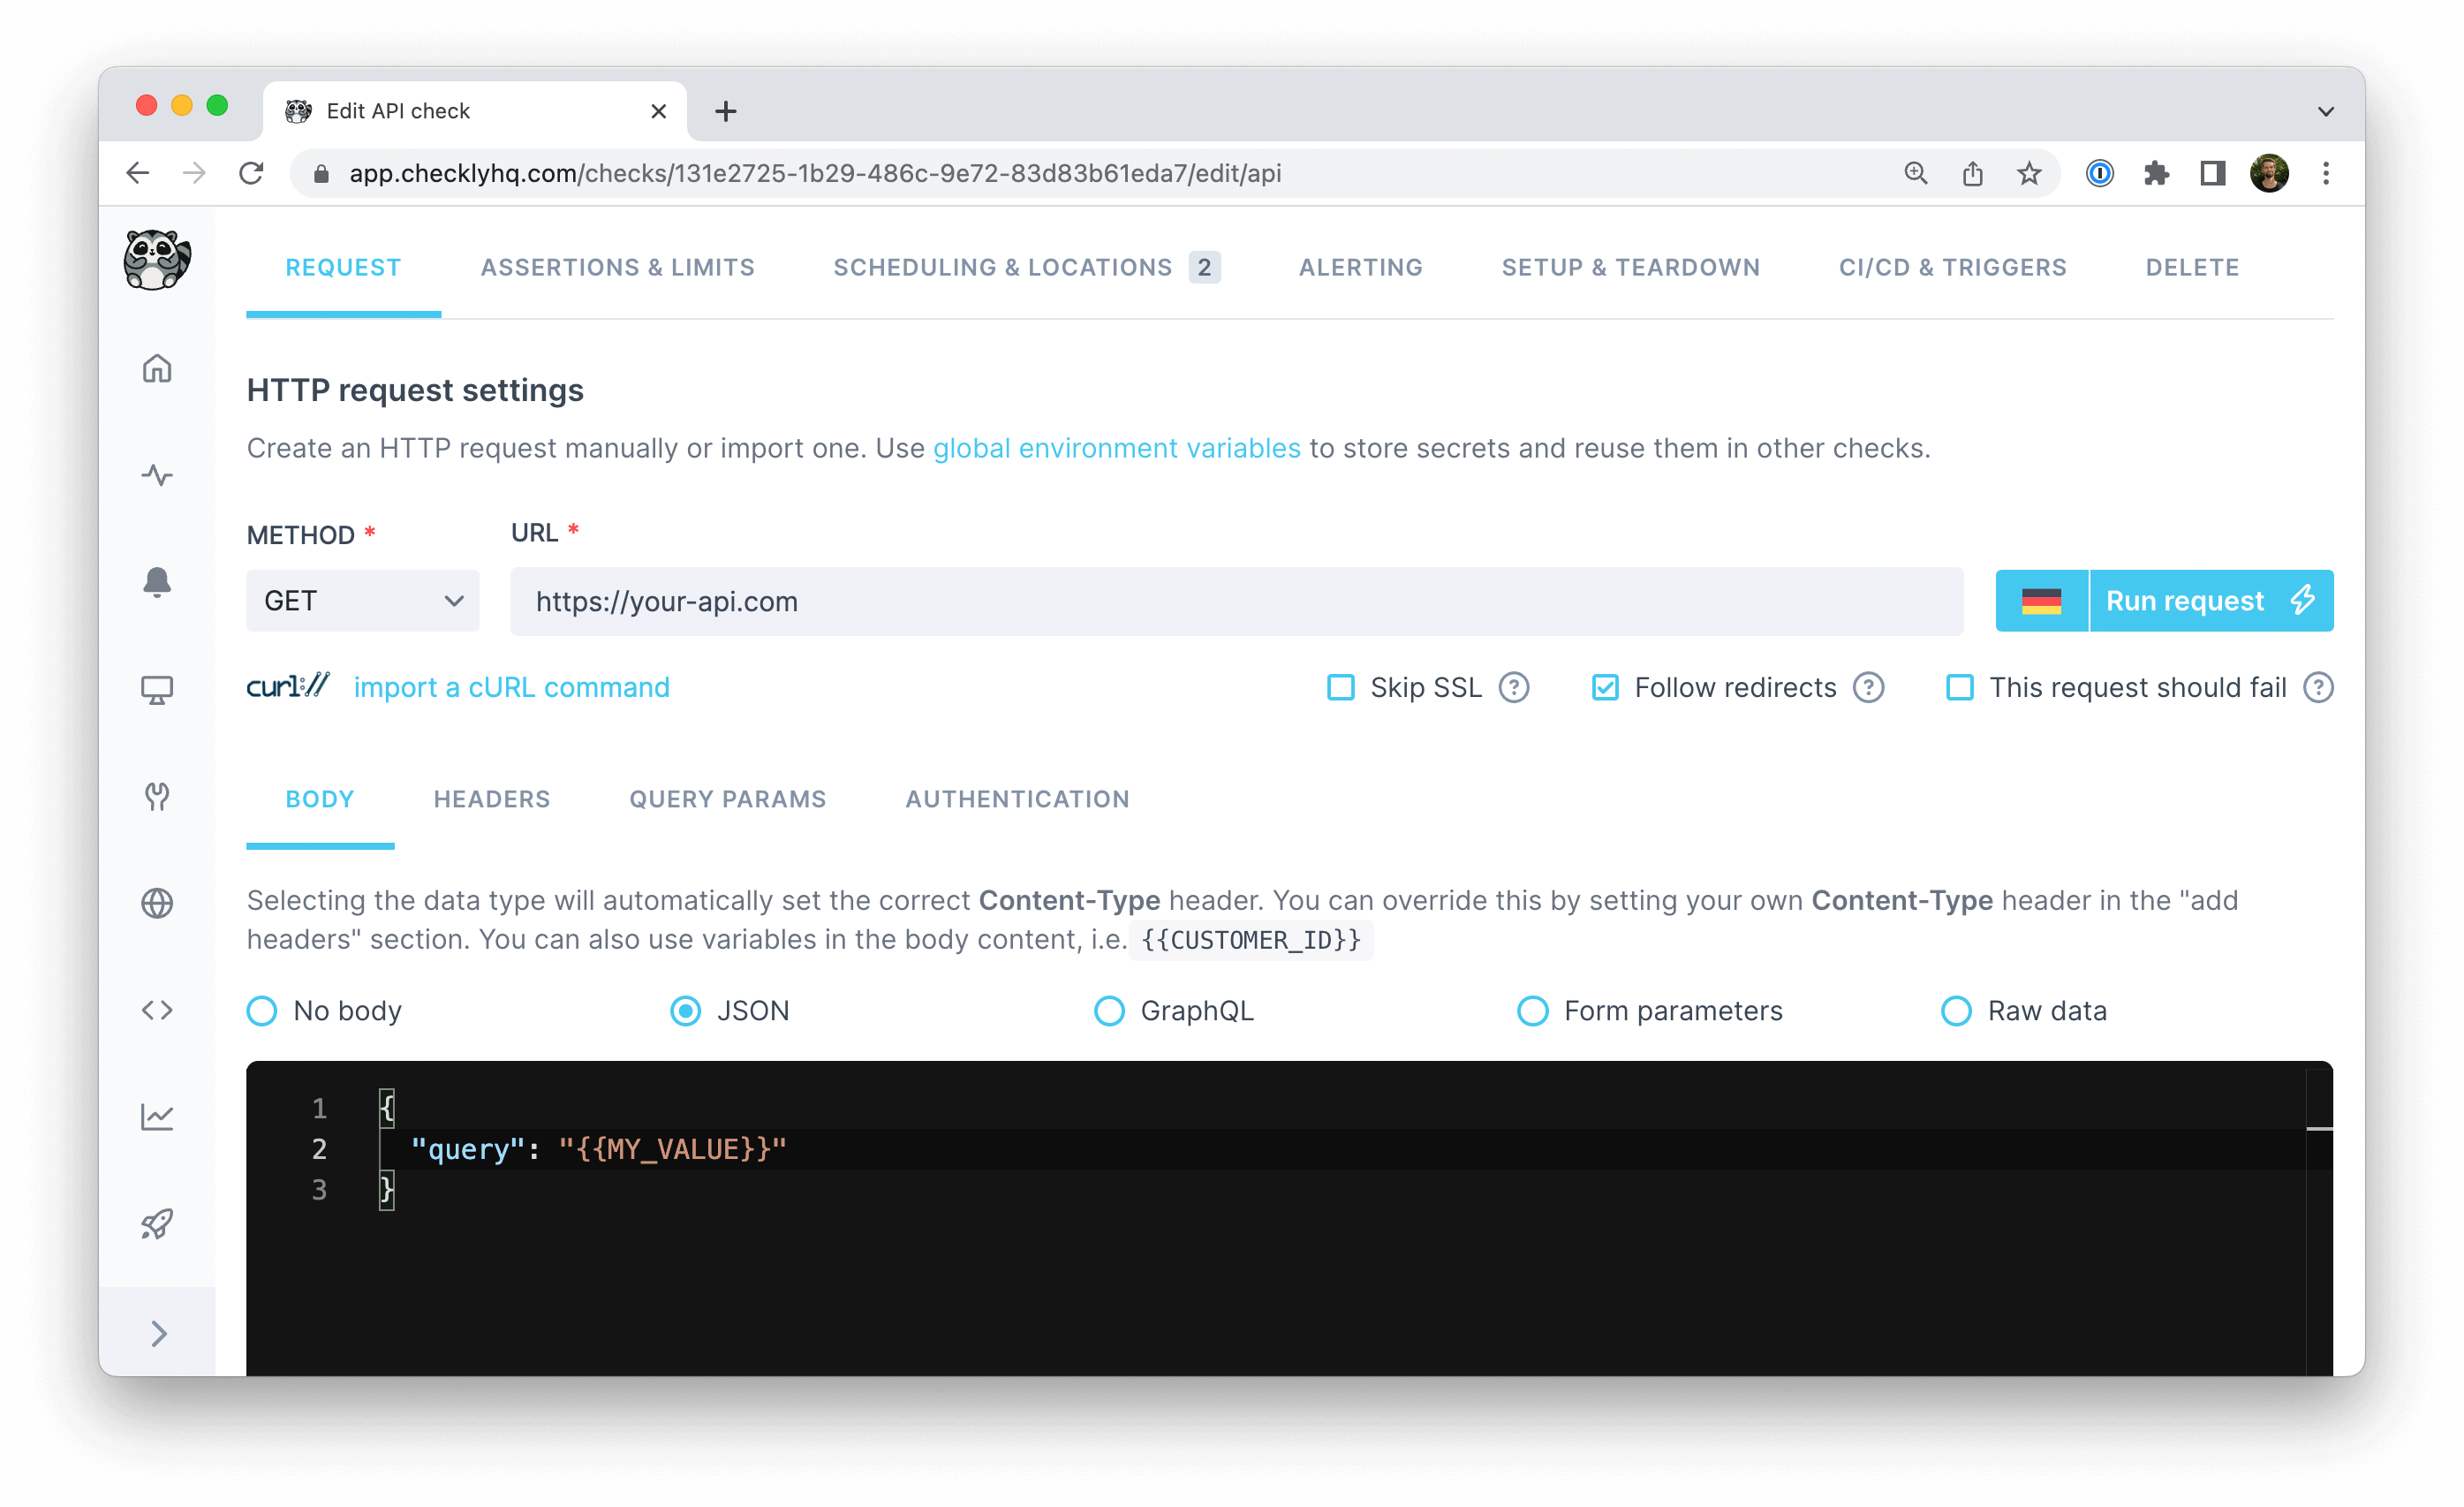
If your API Check’s request body relies on data evaluated in a setup script, use environment variables to make it accessible.
// define a variable that should be accessible in the API Check response body
process.env.MY_VALUE = 'my value'
Access your defined environment variables in the API Check request body with {{MY_VALUE}} notation.

To learn more about setup scripts, check our setup script examples.
Last updated on July 29, 2024. You can contribute to this documentation by editing this page on Github